
Its my very first blog post today!
I have been wanting to get my blog up and running for months and now and well... here it is! I wasn't sure what I wanted to blog about first. There are so many things to choose from... DIYS, photography, food, recipes, life... heck the list goes on and on! While eventually we will touch all those bases I decided to start with a good ole DIY project! I mean come on, who doesn't love a DIY? Even if you're not the let me get paint under my nails, mess up my manicure type of person; stick around and let’s get you inspired!
Today I will be showing you the first way to save some sweet moola. A DIY piñata. That's right, a piñata. It was SOOOO easy and super inexpensive. Naturally, as my daughters third birthday approached the more and more excited I got. I LOVE decorating, parties especially! I love making things look pretty even if no one cares. While some may think why the heck would you do anything more than some cake and balloons for a kid? I say... why not?! I mean sure, I have seen some parties for kids that are indeed outrageously priced, but for me, I like to style them... not pay hundreds of dollars on it! It’s a special day in a child’s life why not make it magical?!
Before I purchase anything for a I price point everything I will need. (I have a sweet little app on my phone called quick scan to help me out. You scan and it will show you the where the cheapest price for that item is. IT’S FAB!) So while on my pricing journey I started looking at piñatas. As I began to look my mouth dropped to the floor. 30 bucks for a piñata and candy was not even included!? That was ridiculous, I mean kids are just going to beat it then it gets tossed in the garbage. Talk about a waste of money. So here's where my DIY project came in. Not only is it a super cheap DIY but it was also used as decor for my daughters birthday party! It was a big hit, pun intended.
400 Coffee filters 1.99 x 2
Large ball 3.99
Newspaper 2.00
Assorted candy 5.99
What you probably already have in your house:
Food coloring
1 cup flour
5 cups water
Scissors
Stapler
Ribbon
Glue gun and glue sticks
Table cloth
Needle
Pie pan or similar
Clothes line
Shred up all that newspaper!! Try to make them wide... they seem to stick easier.
Next, start boiling up your 1 cup flour with 5 cups water until it is at a slow bubble. Don't forget to stir it! You want a smooth consistency; so that means no clumps! Once you get a slow boil, take the pot off the burner and let cool completely.
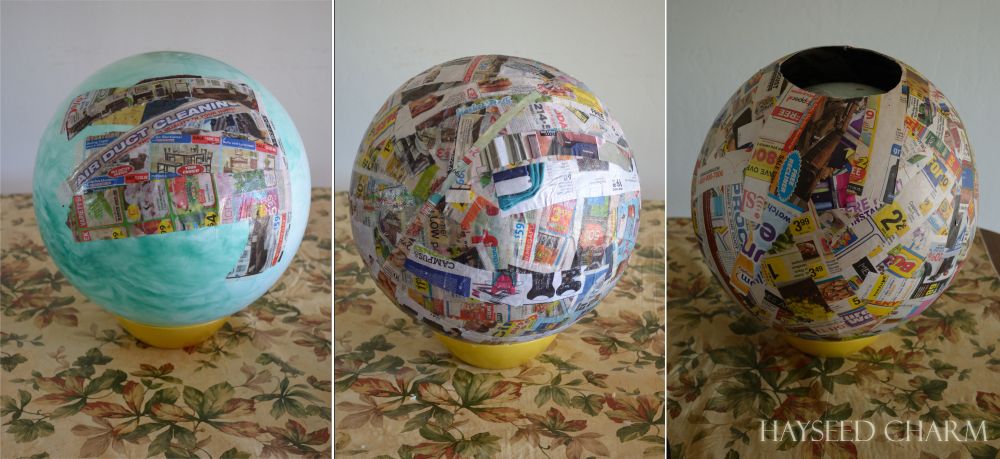
Put your ball on something so it doesn't roll around. I used a bowl. Fancy, I know.
Submerge paper into flour mixture squeeze between fingers to remove excess. Lay wet paper onto ball.
Continue until ball is completely covered. Make sure to have the two layers.
Let dry for approximately one day. I put mine outside. It was 116-118 here in AZ the day I did this project so it really only took me a few hours for this step!
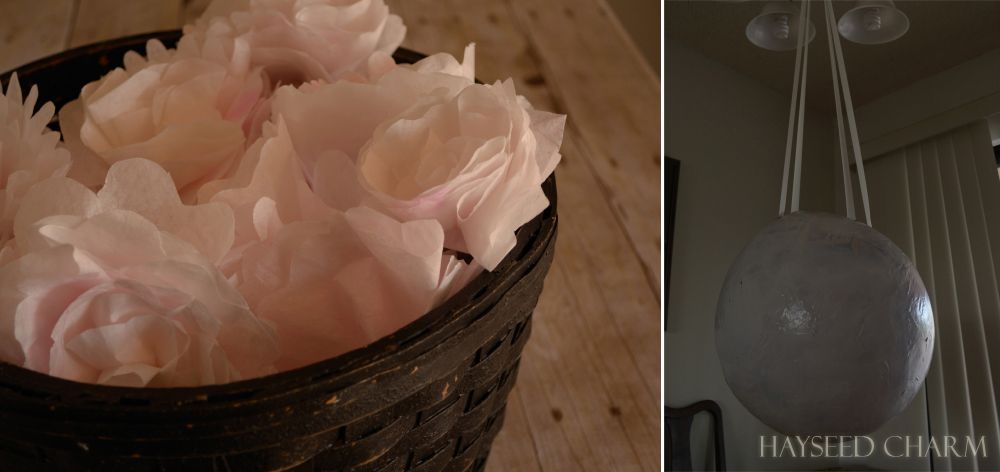
After drying, wrap a ribbon around the balloon, leaving extra for it to hang.
Apply two more layers.
Let dry again about one day.
Stick needle into ball to deflate.
Paint it! I used a white spray paint. You could use any paint you have handy really. DO NOT however, paint the inside where the candy will be.
Cut a small circle to get the deflated ball out. Do NOT throw away that circle you cut out. You will need to super glue or tape it back on to cover the hole!
Make sure it is 100% dry inside and out.
Put candy in it.
Glue or tape cut out back on.
So now that you've finished your base, start making flowers!
Grab those pie pans; add water to one of them.
Put some food coloring in depending on how vibrant you want your petals to be. I added two drops to each pan that was filled with about an inch of water.
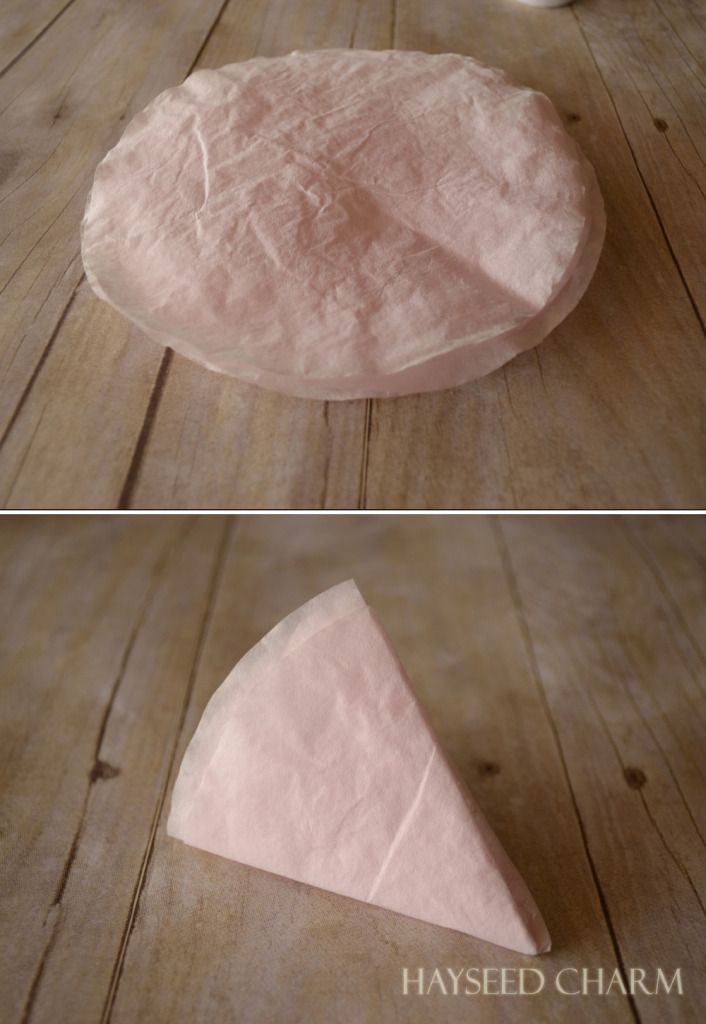
Submerge five or so coffee filters into colored water for a few seconds, then place on the second pan until you have a good amount to hang on the clothes line.
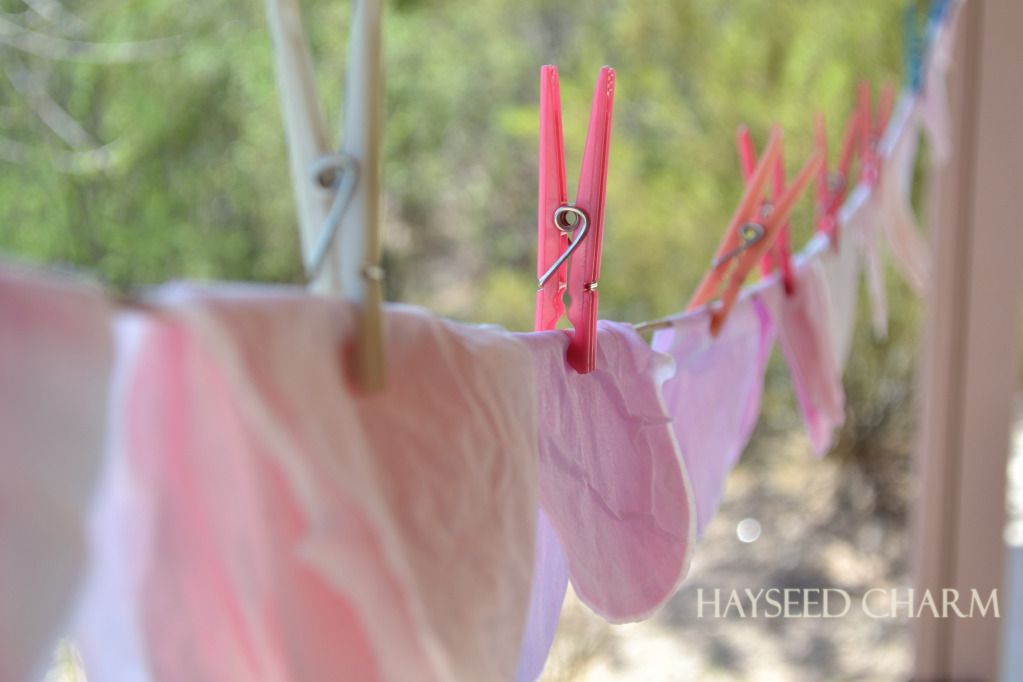
Let dry completely. Flip over if need be after an hour or so until they look like this... beautiful, right?
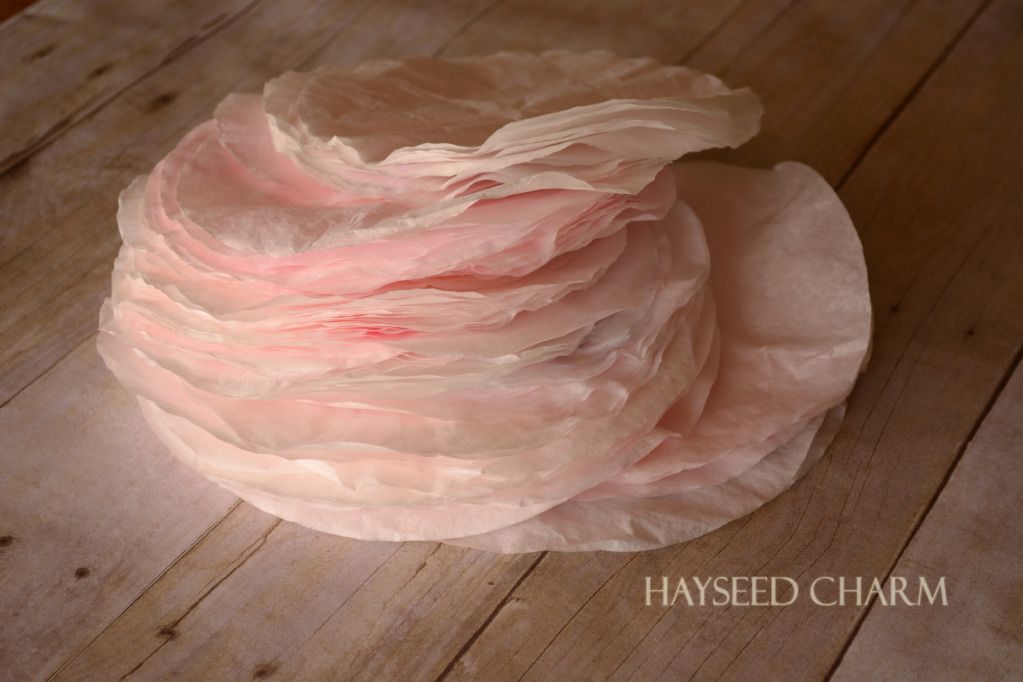
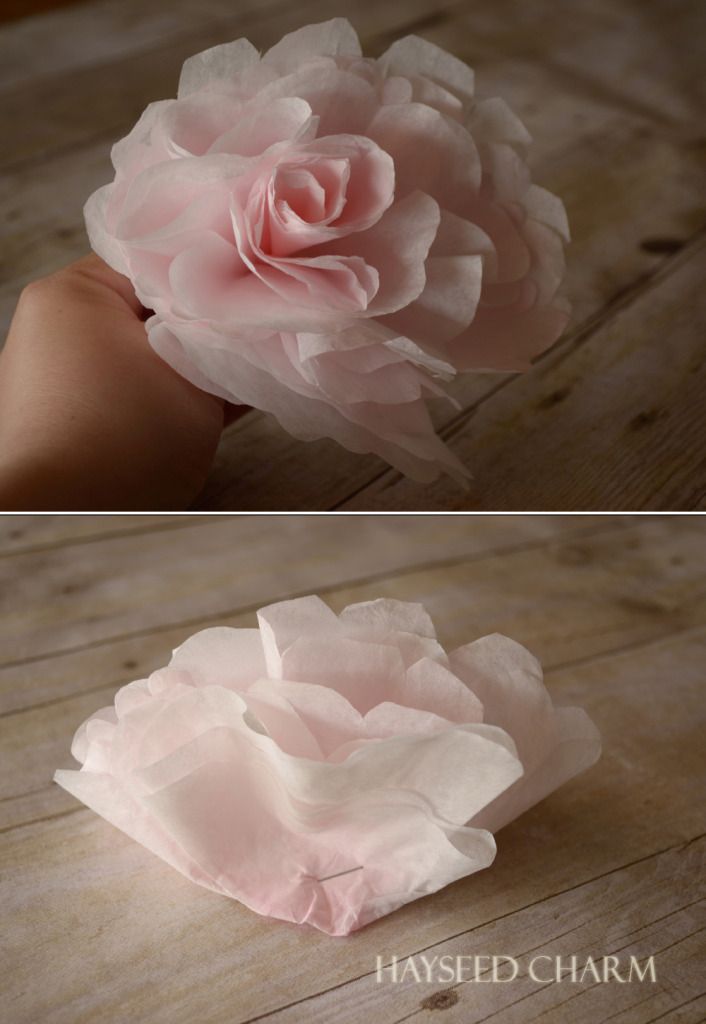
Cut five to eight different shapes into the coffee filters, you can have multiples.
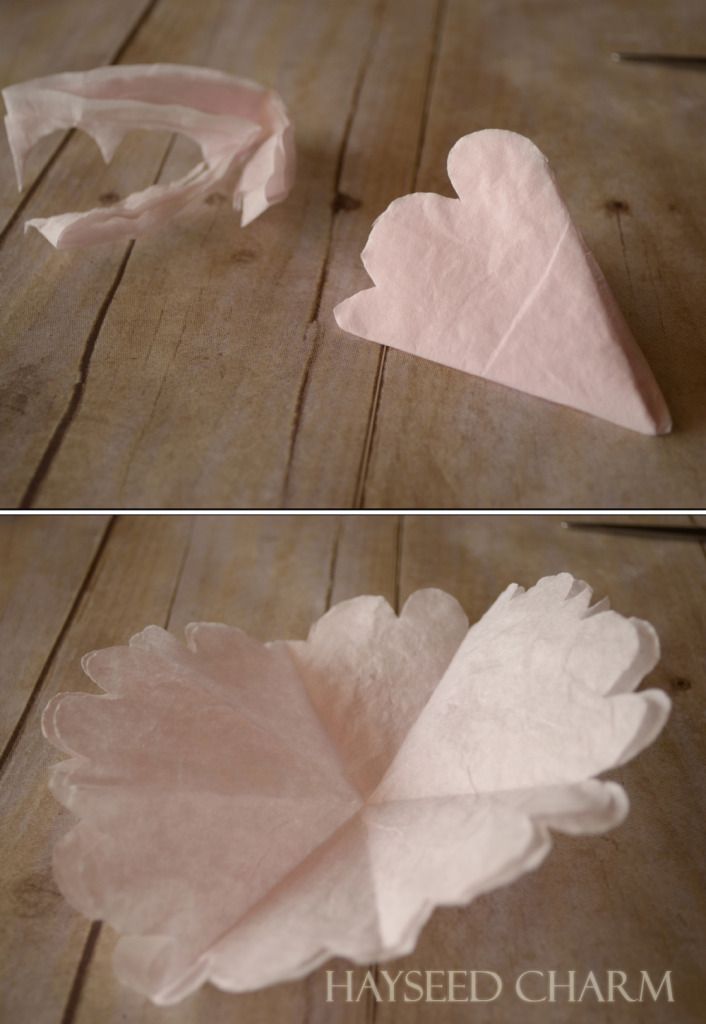
Until they look similar to these lovelies.
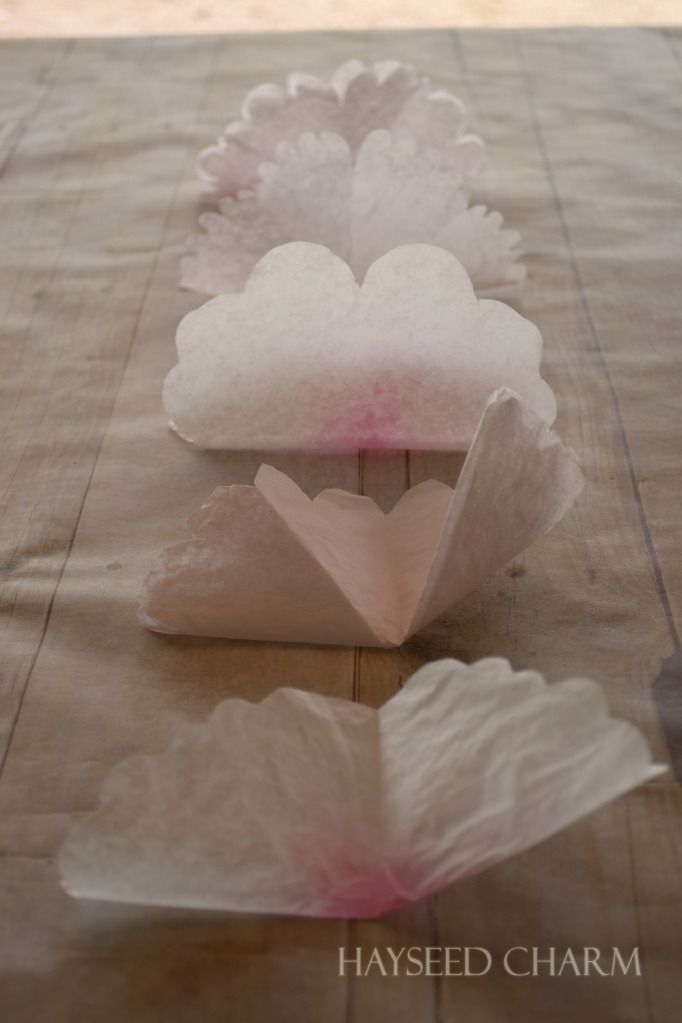
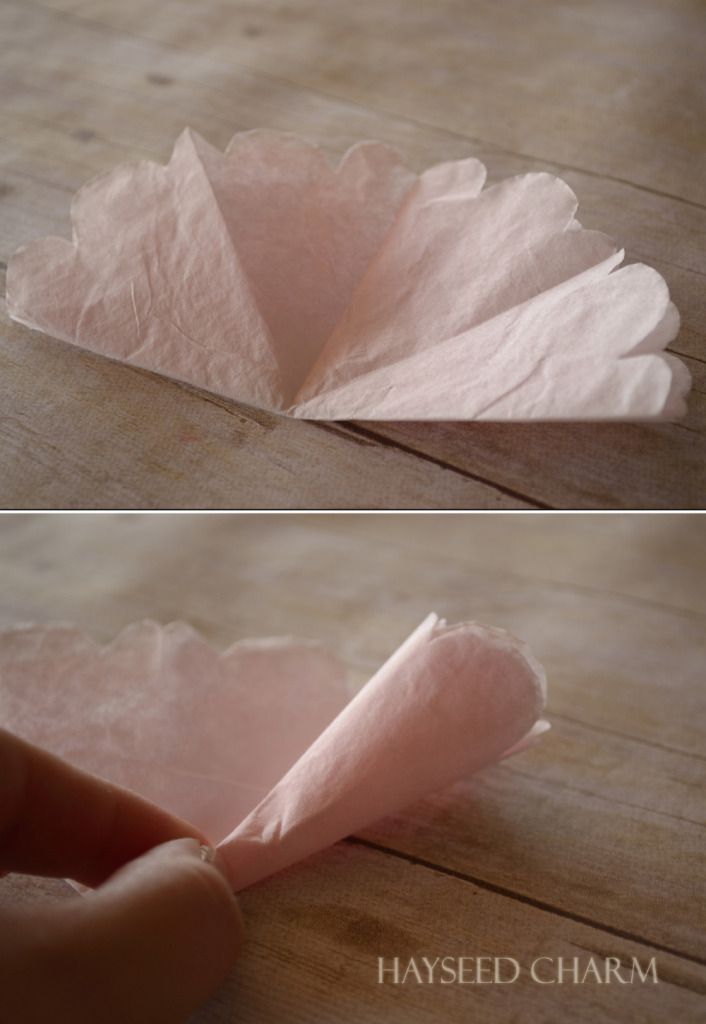
Continue placing petals around center until it looks like a peony. You might not have to use all eight and that's okay, I didn't either most of the time either. Although the more coffee filters you use, the bigger the flower!
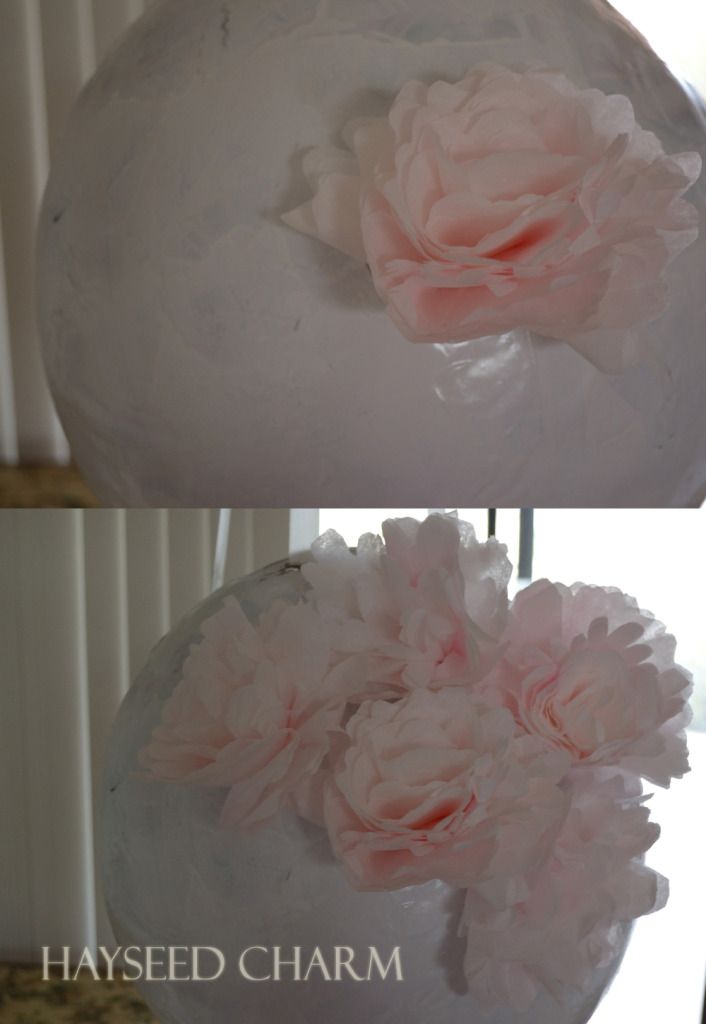
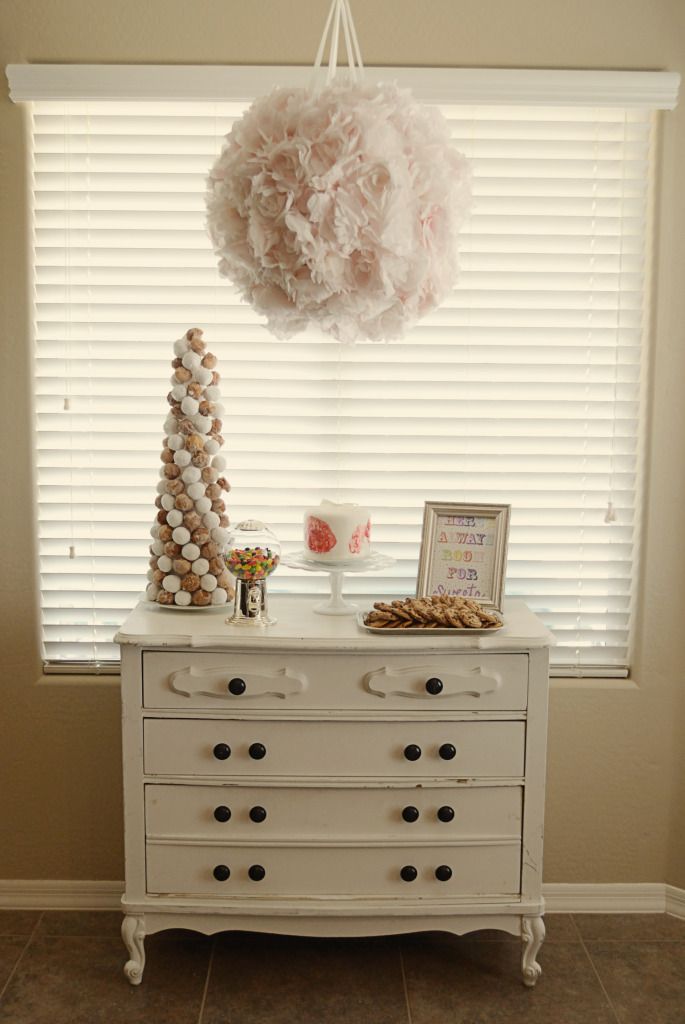
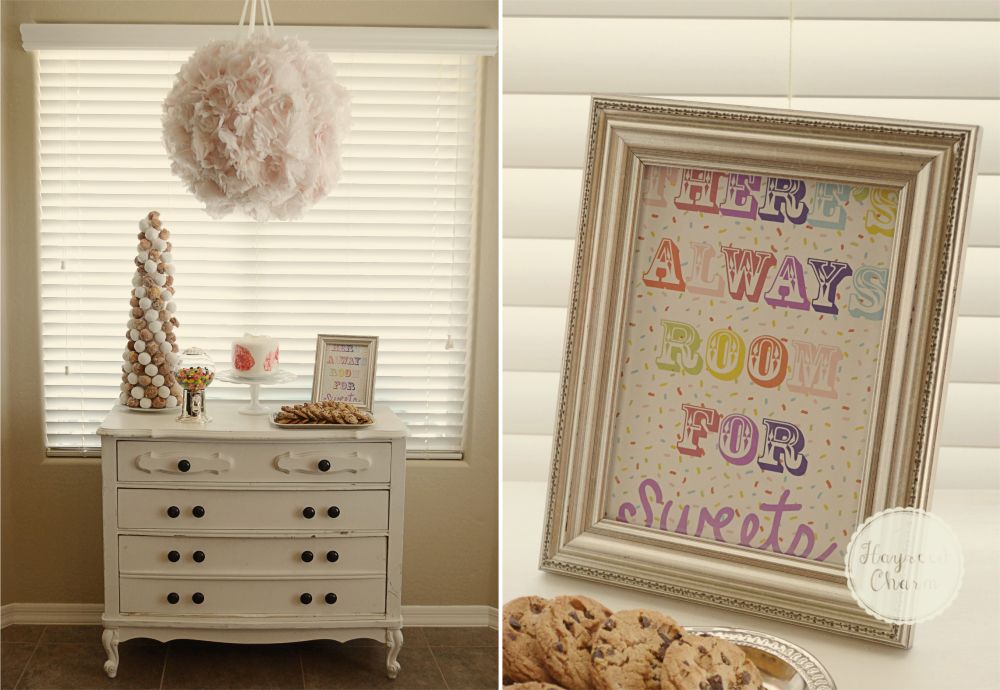
Before you know it, it will be covered and stunning! After I finished I didn’t want to use it as a piñata anymore. I really just wanted to keep it in my office! Don’t say I didn’t warn you.
Have fun! Post a link at the bottom to show me how yours turns out, I’d love to see!